Thursday, June 30, 2011

Fabric Flower and Fabric Button

Just a short entry. Today I'm going to show you the kanzashi flower I made last night. This is a fabric flower with fabric button. It was my first trial, so there's few more rooms for improvement...hehhehe... Anyway, the first lesson I've learnt was to choose the correct type of fabric. I think it's best to use medium to heavy fabric (not too heavy though - heavy cotton shud do), or felt, as long as not too 'soft' otherwise, the flower won't turn out that nice... The other option is either to 'starch' the fabric first or by using interfacing if you want to use the lighter fabric. So enjoy 'washing your eyes' (cuci mata...) hehehhehe...

Ignore the irregularities...hehhehe
By the way, I also wanted to show you the hair clip I made last weekend.
Errkk... since when does this tree have flowers?


Love & Regards

Wednesday, June 29, 2011

Fabric Button For Sale

I managed to 'make' some fabric buttons available for sales... Here are some of the collections. Many more are coming....

Random Collection
 Few ready stocks are available for each 'pattern'.

Exclusive Collection
 Limited stock for each pattern, depends on the availability of the fabric, because it only used certain part of fabric only.

Unique Collection
 The fabric is taken at random and yet selected part to create the unique pattern. Can request for similar pattern, but won't be 100% the same, and also depends on the availability of the fabric.

Plain Collection
Other colours also available. Please do not hesitate to ask for the available colours.

These fabric buttons are also available in brooch form. If you're interested, please feel free to fill in the order form or email me., and indicate whether u want it as button itself or as brooch.

Love & Regards

Friday, June 24, 2011

DIY - Fabric Button Brooch

Ok, today I'm going to show you how to turn the fabric button into brooch... Some of you might know how to do it already, but it's ok, I still want to share it with you....heheheheh

First of all I want to show you the different outcomes of these fabric buttons from using the press machine or done manually/using tool kit. Blue Button (BB) was by press machine while Red Button (RB) was done by manual kit.
Front view, notice BB is flattened

Can you see the 'grip' effect on BB?
When using the press machine, the button is nicely attached while if you're using manually it won't fit nicely and you have to use stronghold glue to help the bottom hold to it's cap. Anyhow, either way don't let it stop you from making the masterpiece of your own.....heheheh..

Ok now, let's go to the tutorial.. It simply straight forward, so if you have any question please do not hesitate to let me know, ok....
Plastic bottom
 The good thing that this bottom cap is made from plastic is because you can have the shank removed if you don't want it.

Remove the shank
 Please ensure you use both hands while removing the shank... I didn't have cameraperson available so had to pose with one hand....hehhehehe

After the removal of the shank
 Trim any sharp and unneccessary edges.

Putting the glue
 You can use any stronghold glue or hot glue and put it on the pin brooch cap. If you're using the hot glue, be careful that the brooch cap might get hot.

Attached firmly
 Attached it to the fabric button and press firmly and you're done.. Clean off any glue residue..

Done!!!

Front View
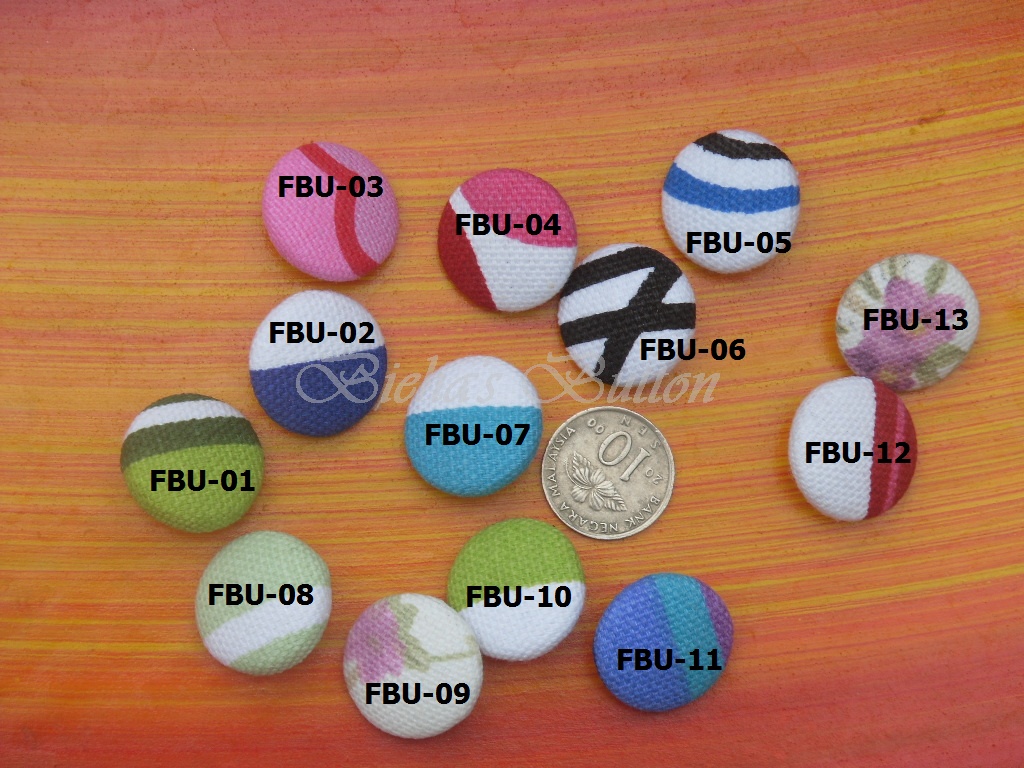
Pretty easy yeah? Excited to try it on but don't know where to find the fabric button? Don't worry, I'll be coming out with ready to use fabric buttons soon, so stay tune....

Love & Regards

Thursday, June 23, 2011

Fabric Button

Edisi cuci mata for today!!!.. Collections of fabric buttons (also known as covered buttons)... Some of them having their own unique patterns while some have exclusive patterns... These buttons will look great on your crafts projects and can be used as button itself, brooch, flowers and much more as your creativity goes...
Aren't they adorable?
 These buttons will be available for sale soon. So don't forget to check it out ok!!...

Love & Regards

Tuesday, June 21, 2011

Barut, Bedung & Bedding

I haven't updated anything on my projects since some times already, not that I didn't have any, but a bit buzy with other things as well as busy with the orders for barut, bedung and baby bedding... So below are few for the customers... (Actually there's more, but since they are all using the same patterns so I figured no use if I upload all of them....hehhehe)

These are the materials for printed barut.

Colourful Love

Butterflies & Little Cars

Vehicles
And these are when they are turned into barut
Plain and Printed Barut, in Standard and Large Size
Printed flannel & plain cotton bedung
Big Size Printed Flannel & Plain Bedung

Baby's bedding
From Lightweight Cotton Material

The fabrics for printed flannel and baby's bedding were chosen by myself and am so glad that the customers love them...

Want to order some? Feel free to contact me.. See ya...

Love & Regards

Wednesday, June 15, 2011

It's Here!!!

Ever since I've won that GA, been so excited waiting for them to arrived...Almaklumla, x pernah menang b4 this...so jakun la skit...hehhehe... And finally, they're here...

Memula tak sabar2 jugak nak bukak parcel tu... So bila dah bukak, simpan skit excitement tu, tgk kainnya, wah.. cun2... then the little gifts... And finally the mags, Burda's and Ottobre.... Gosh, am so excited about the mags.... Senyum jer manjang... DH dah curious... Memula jeling jer, apa taknya, mesti dok pk, "Apa2 ntah yg bini aku ni beli... sure mahal nyer..." Then I told him actually I got it for free and they came all the way from Netherlands....hehhehe... terkojut jugak dia, camana bini dia blh dapat free ni....ekekekek..

Let me share the inside of these mags with you guys....

Some of the designs they have for babies (and many more, mind you!!)
The instructions
And for teenagers
And of course 'The How To' parts
And of course including the 'ready' patterns for various sizes
All available patterns
And these from Burda's
Love that pants
The dress just gorgeous
Of course, the instructions, same like above
Ready patterns for all design including various sizes
Just choose which one or two or..all you want to make....

I can't wait to start this 'little' projects... But I still have some backlog that need to be done first.... huhuhu... Feel like putting everything aside, and throw myself into this project...hahha... no no, can't be selfish....

I really hope we have something like these here in Malaysia.. Wonder if I can get these mag any bookstore here, maybe Kinokuniya?.. I bet the price must be something to consider too...


Love & Regards

Tuesday, June 14, 2011

I'm Back!!!

Actually I was back since last Saturday but a bit busy with other things as well as reorganizing my little 'bengkel'...
I haven't update anything about my projects for quite some time now.. Actually I got few but had no time updating it...
Well will be back soon, hopefully with new ideas and projects...hehhehe...
Anyway, I still taking orders... So do let me know...

Love & Regards

Sunday, June 5, 2011

Away From Home, Away From Bengkel...Again....

Tak sempat nak tinggalkan any message kat sini yg saya akan pergi 'bercuti' for a week, starting yesterday (well it supposed to be started on Friday morning, but the 'driver' kept postponing it...) for the whole week...heheeh... cuti sakan yek? kikiki...dah 'dia' nak bawakkan, ikut jelah yek.....

Tak dela gi mana pun, just turun pegi Muar, then JB, and maybe ke Desaru kot since anak2 dah sibuk nak g pantai, then off to East Coast... On the way back to Sg Buloh, kalau ada budget lebih, maybe singgah kot kat Cameron Highlands....

So anyone yg nak tempah apa2, do send me an email, nanti saya akan reply once I got back...

Have a nice day and nice week to all...

Love & Regards